A Frosty Freezer Is Often an Air-Leak Clue: Check This Before Replacing It
A freezer covered in frost can tempt you to turn the control colder or start shopping for a replacement. Before either step, check whether the door is closing properly and whether the appliance is maintaining its temperature. Moisture entering with room air can freeze inside, but frost is a clue to investigate rather than proof that the compressor, seal or whole appliance has failed.
The first useful questions are simple: where does the frost appear, how quickly does it return, what kind of defrost system does the model use and what does an appliance thermometer show? Keep those observations separate. An icy compartment is not automatically operating at a safe temperature, while a cold compartment with a little frost may have a maintenance or loading problem rather than a replacement problem.
Check temperature before spending time on the ice
The recommended freezer temperature is 0°F (-18°C). Use a suitable appliance thermometer according to its instructions instead of relying on the dial position or how cold a package feels. If the freezer is not maintaining the required temperature, protect the food and arrange investigation before treating the situation as a cosmetic frost issue.
A reading taken now does not establish what happened to the food earlier. If packages have thawed or the temperature history is uncertain, follow appropriate food-safety guidance and do not use tasting, smell or appearance as the deciding test. This article’s inspection plan is about the appliance; it cannot certify food after a cooling failure.
When the freezer is maintaining temperature, make a short note of the reading, frost location and recent events. Include a door left open, a large new load or an unusual power interruption if one occurred. A photograph taken during ordinary access can preserve the pattern without keeping the door open while you try to remember every detail.
Look for a package that keeps the door open
Start with the loading arrangement before moving to parts. A drawer not pushed fully home, a bag caught at the edge or a box projecting beyond a shelf can interfere with closure. Close the door gently and observe whether it reaches its normal position without a shove; forcing it past an obstruction may damage the package, drawer or seal rather than solve the problem.
Check the full edge, including areas that are difficult to see from your usual standing position. An upright freezer and a chest freezer have different access problems, so use the model’s loading guidance instead of assuming the same test fits both. If hinges or the cabinet appear misaligned, follow the manual or request appropriate service rather than improvising an adjustment.
Consider an illustrative example: frost repeatedly appears near an upper corner after grocery day. A pizza box is pushed slightly beyond the shelf and prevents the door from seating completely. Moving that box, checking closure and observing the subsequent frost pattern is a specific, reversible first step; it does not require a diagnosis about the cooling system.
Inspect the gasket without turning it into a repair experiment
Look for visible damage, debris or a section that does not meet the cabinet normally. Clean accessible sealing surfaces only as the manufacturer directs, then check closure again. Harsh chemicals, vigorous pulling or improvised heating can create a new problem, so treat the seal as an appliance part with its own care instructions.
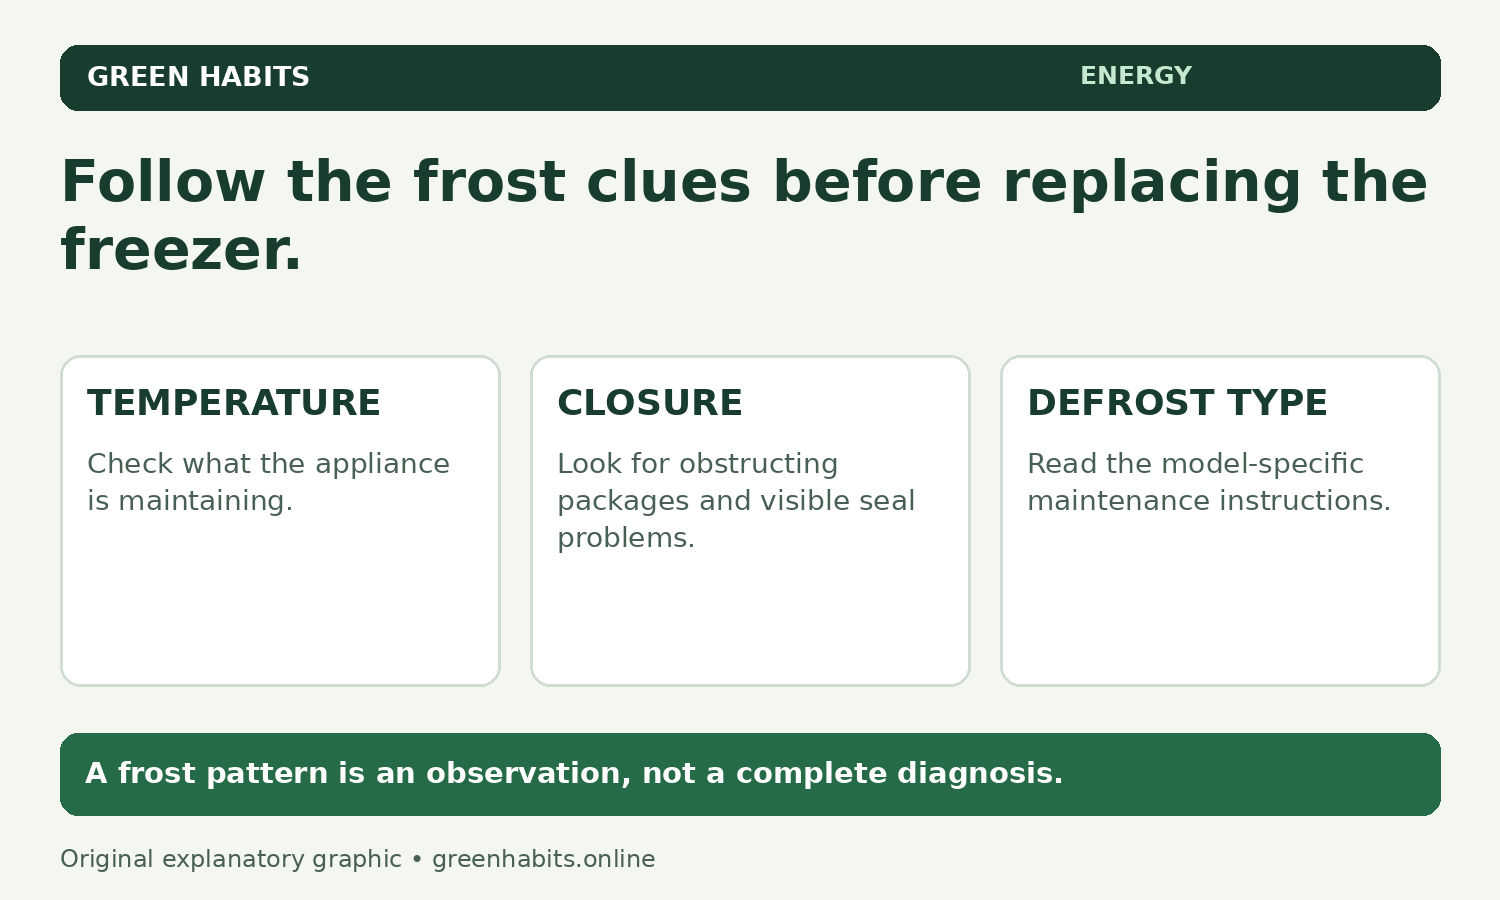
- Temperature: use a suitable thermometer; protect food if cooling has failed.
- Closure: check packages, drawers and visible gasket condition.
- Manual: identify the defrost system and permitted maintenance.
- Follow-up: record the result and seek service for persistent or unsafe operation.
A frost pattern is a clue, not proof of a specific failed part.
A visible tear and a persistent frost pattern nearby are useful things to show a repair service, but the pattern alone cannot prove the gasket is the only fault. Record the exact model so any replacement can be checked for compatibility. A part that looks similar online is not enough to establish the correct fit or installation procedure.
If you are comparing repair and replacement, separate the confirmed defect from the larger decision. The repair-or-replace checklist helps you consider the available repair, condition and practical costs. It is easier to make that comparison with an identified problem than with a general impression that the freezer looks old.
Identify the defrost system before planning maintenance
Manual-defrost and automatic-defrost freezers need different interpretation. A manual-defrost model can require planned frost removal as part of normal maintenance, while recurring heavy icing in an automatic-defrost model can need further investigation. Find the manual and its instructions for your model rather than applying a maintenance interval borrowed from another appliance.
Frost returning after a properly performed defrost is especially useful to document. Note how quickly it returns and whether it appears in the same place, but avoid declaring a failed heater, timer or sensor from the outside. Persistent problems with the defrost system or internal cooling components belong with an appropriate repair professional.
A smooth sheet of ice, widespread frost and frost concentrated beside the door are different observations. Write what you actually see rather than converting every pattern into “the seal is broken.” That keeps the record useful if the simple closure checks do not explain the problem.
Plan food protection before a defrost
Read the complete defrost procedure before starting and arrange appropriate cold storage for the food. A bag on the kitchen floor is not a food-protection plan for a maintenance job whose length is uncertain. Have a way to monitor the storage conditions and follow food-specific safety guidance if the cold chain cannot be maintained.
Use only the methods and tools permitted by the manual. Do not attack ice with knives, screwdrivers or other sharp implements, and do not improvise with electrical heat near water. A punctured lining or damaged component can turn a maintenance task into a much more serious repair.
Plan for meltwater and the required drying and restart steps, then allow the appliance to reach the appropriate temperature before returning food as instructed. If the procedure becomes unclear or the appliance does not recover normally, stop and seek advice rather than continuing because the food is waiting. Preparing the job well is part of avoiding waste.
Check airflow and everyday access
Follow the manual’s clearance requirements around the appliance and keep internal vents unobstructed where the model uses them. Cabinets and freezer designs differ, so a single rule about leaving a certain number of centimetres everywhere is not a substitute for the installation instructions. Clean accessible components only where the manual identifies a safe user-maintenance task.
Repeatedly searching with the door open is another part of the routine worth improving. Labels and a short inventory help someone find the intended food quickly without moving every package. If the arrangement repeatedly produces overfilled drawers or trapped bags, change the storage plan rather than simply asking everyone to close the door more firmly.
A practical example is assigning one clearly labelled drawer to meals planned for the coming week. The household can find those portions without searching through the whole compartment, while the remaining food stays organised in suitable spaces. That is an access improvement, not a measured energy-saving claim or permission to pack food against vents.
Know what to take to a repair service
Useful evidence includes the model number, temperature observations, frost photographs, relevant error messages and what changed after simple loading or cleaning corrections. State whether the model is manual-defrost or automatic-defrost and whether the problem recurred after following its maintenance instructions. Keep sealed refrigeration components and internal electrical repairs out of an ordinary household inspection.
Request service when the appliance cannot maintain the appropriate temperature, the door cannot close correctly or substantial icing keeps returning despite the basic checks. Leaking water near electrical parts, abnormal operation or an unclear fault should also move the job beyond routine maintenance. You do not need to dismantle the freezer to provide a useful account of the problem.
Finish with one correction and a follow-up
Take the first inspection in order: thermometer, package clearance, door closing, visible gasket condition and the manual’s defrost guidance. Correct a straightforward loading problem if one is present, then check the result during ordinary use. If the problem persists, keep the observation record and arrange the appropriate next step.
The seasonal home check uses the same approach of documenting a practical problem before buying equipment. A working freezer deserves suitable maintenance, and a failing one deserves a clear investigation. Frost is useful when it leads you to that distinction rather than an automatic replacement purchase.